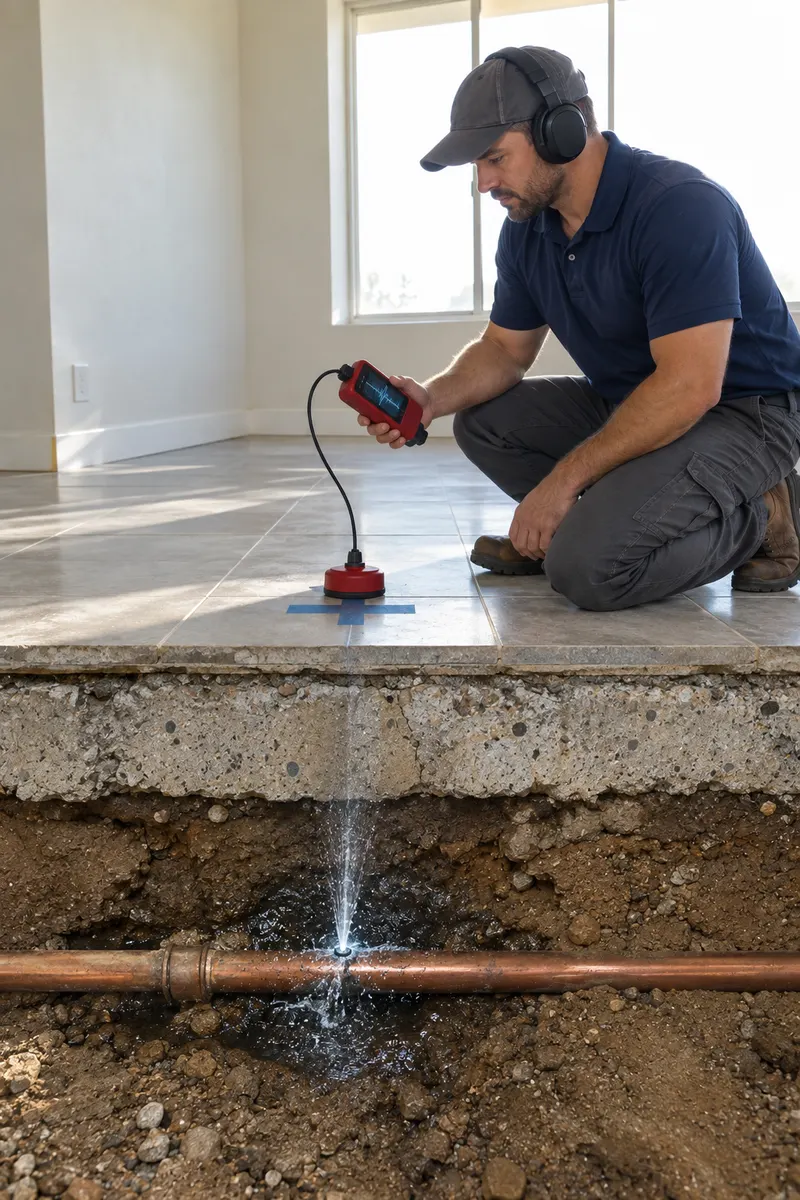
Cutaway of a home's concrete slab showing a leaking pipe under the spot where a technician listens on the floor

Slab leak detection guide

How professional slab leak detection works

Finding a leak under concrete is a step-by-step process of confirming, narrowing down and pinpointing, not guesswork. Here is how professionals detect a slab leak, which tests and tools are used, how accurate the results are, and what you can safely check yourself.

Live dispatcherUpfront optionsBacked workmanship

Quick answer

How does professional slab leak detection work?

Short answerProfessional detection works in two stages. First the technician confirms that a leak exists and which line it is on, using a meter check, pressure testing and line isolation. Then they locate it with listening equipment, thermal imaging or moisture readings, and check the spot before recommending any repair.

In practice the two stages overlap. The first tests answer whether there is a leak and which line it is on. The second stage answers where. Only when a technician can point to a specific spot, and has checked it with a second method, does it make sense to talk about opening a floor.

Detection is a diagnostic service: the aim is a marked location and a clear explanation of your options, not a guess. If you are still working out whether you have a leak at all, start with our guide to slab leak symptoms.

The process

How professional slab leak detection works, step by step

The order can change from home to home, but a thorough detection visit usually follows this path.

  1. Initial inspection. The technician asks what you have noticed, such as bills, sounds or warm spots, and looks over the property. Easy causes like a running toilet or an irrigation problem are checked first.
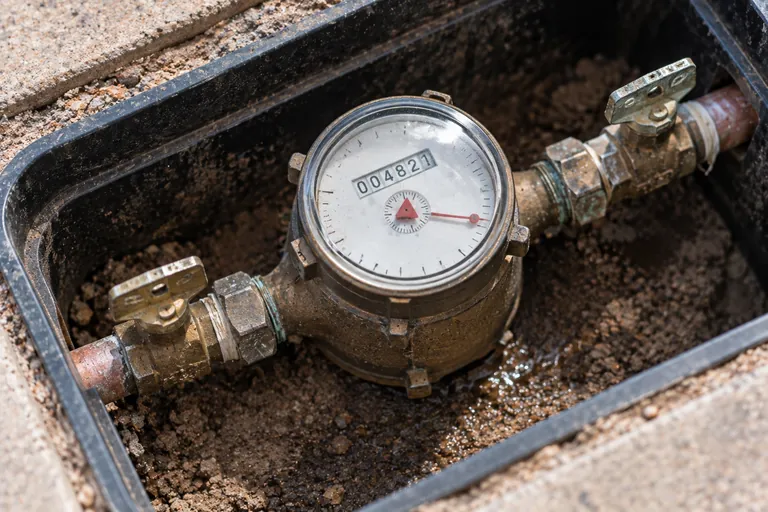
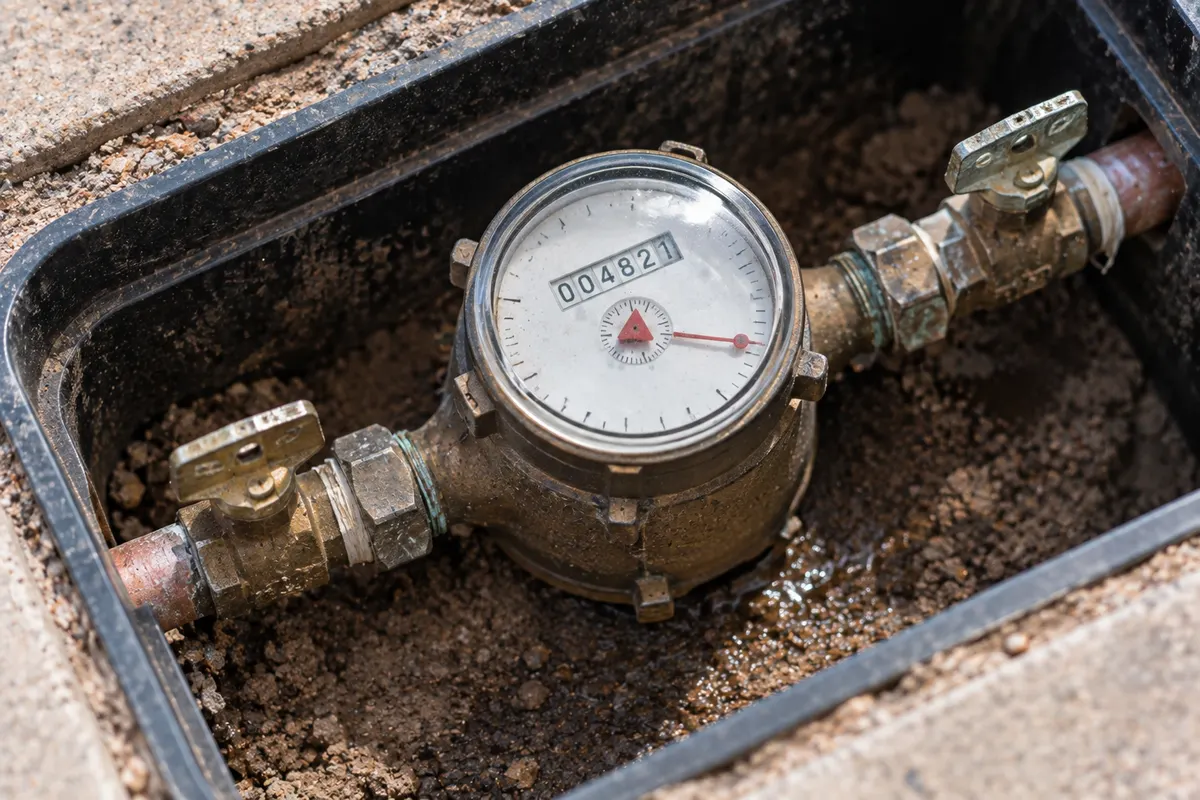
  2. Water meter and usage check. With fixtures off, the meter shows whether water is leaving the plumbing and how quickly.
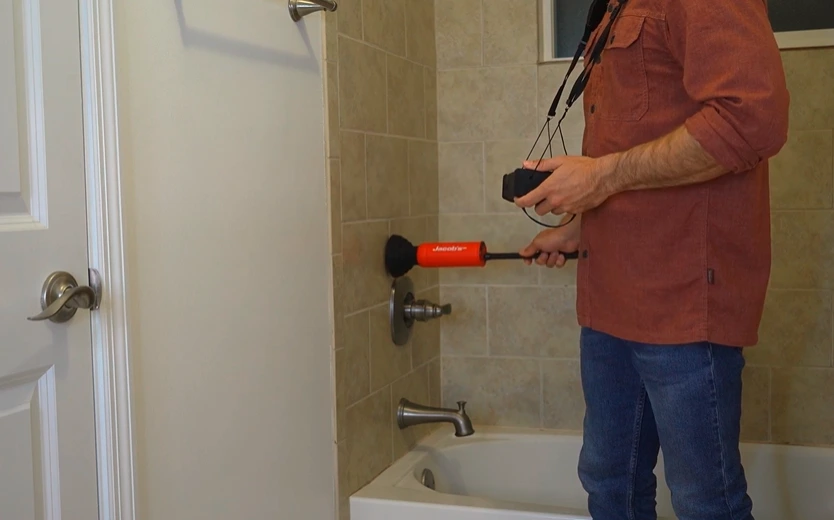
  3. Pressure testing. The plumbing, or a section of it, is closed off and watched on a gauge. A line that will not hold pressure has a leak.
  4. Isolating plumbing lines. Shutoff valves separate hot from cold and one section from another, so the test shows which line is leaking.
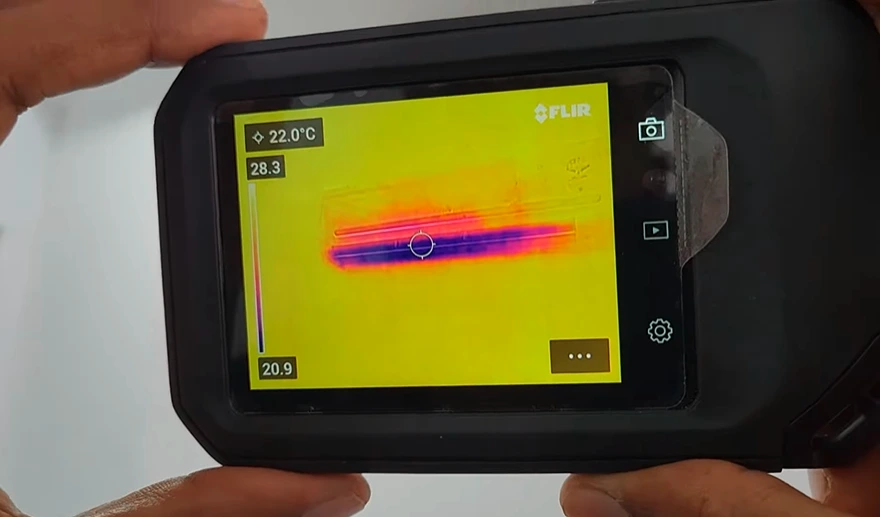
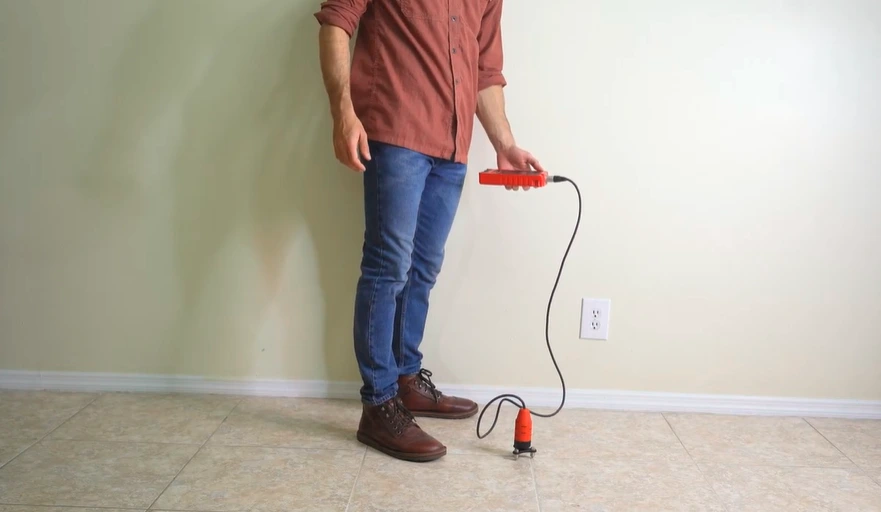
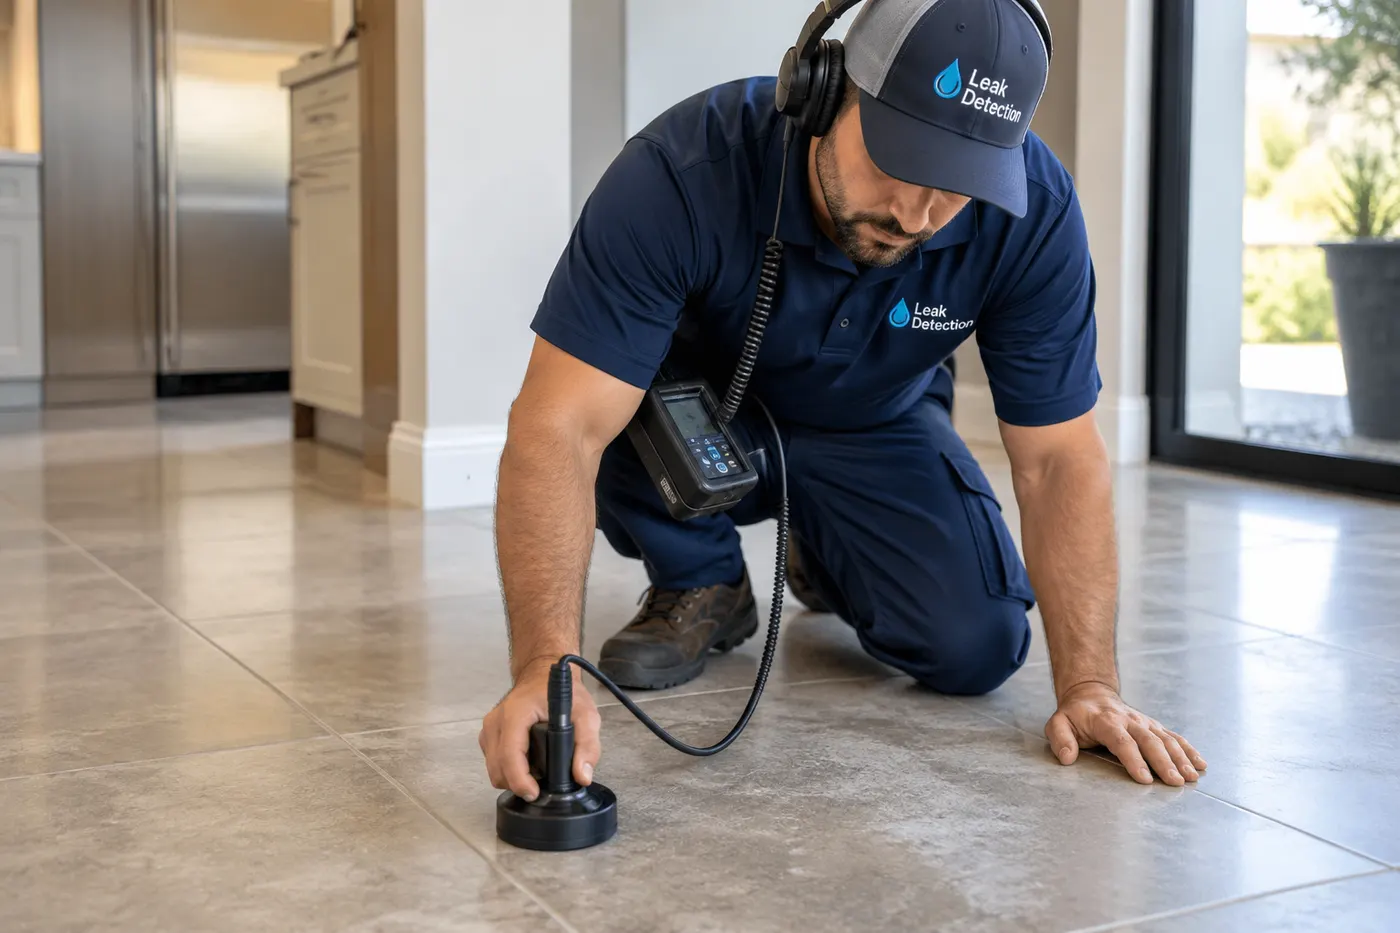
  5. Listening and locating tools, where appropriate. Acoustic listening equipment picks up the sound of pressurized water escaping, thermal imaging shows warm hot-water lines, and moisture readings show where water is collecting. Pipe-locating equipment can trace a line's route under the slab.
  6. Pinpointing the leak. The readings are combined to mark the most likely spot, and a second method is used to confirm it.
  7. Confirming the affected line. The technician confirms which line it is, whether it carries hot or cold water, and where it runs through the house.
  8. Repair recommendation. With the location and line known, the options can be explained, along with the price, before any work begins.
Not every leak needs every step. A clear meter result and a strong listening signal may be enough, while a stubborn leak may call for extra methods. What matters is that the location is confirmed before anyone opens the floor. If the pressure test comes back clear but signs of a leak remain, see our guide to slab leak vs. drain leak for why a drain line is worth checking next.

Tools and tests

What tools and tests are used to detect a slab leak?

Three tests confirm and narrow the leak, and three instruments locate it.

Short answerSlab leak detection uses a small set of tests and instruments rather than a single device: a water meter check, pressure testing, line isolation, acoustic listening equipment, thermal imaging and moisture readings. Which ones are used depends on the home, the plumbing and what the first tests show.
TEST

Water meter check

Shows whether water is leaving the plumbing when nothing is running.
TEST

Pressure testing

Shows whether a line holds pressure or keeps losing it.

TEST

Line isolation

Separates hot from cold and one section from another to narrow the search.

TOOL

Acoustic listening

Amplifies the sound of pressurized water escaping from a pipe.

TOOL

Thermal imaging

Shows temperature differences, useful for warm hot-water leaks and damp areas.

TOOL

Moisture readings

Checks flooring and walls to confirm where water is collecting.

Pressure testing

Can a pressure test detect a slab leak?

Short answerIn part. A pressure test shows whether a water line holds pressure, and a line that keeps losing pressure has a leak somewhere. It confirms that the leak exists but not where it is, so it is usually followed by line isolation and listening or thermal tools to pinpoint the location.

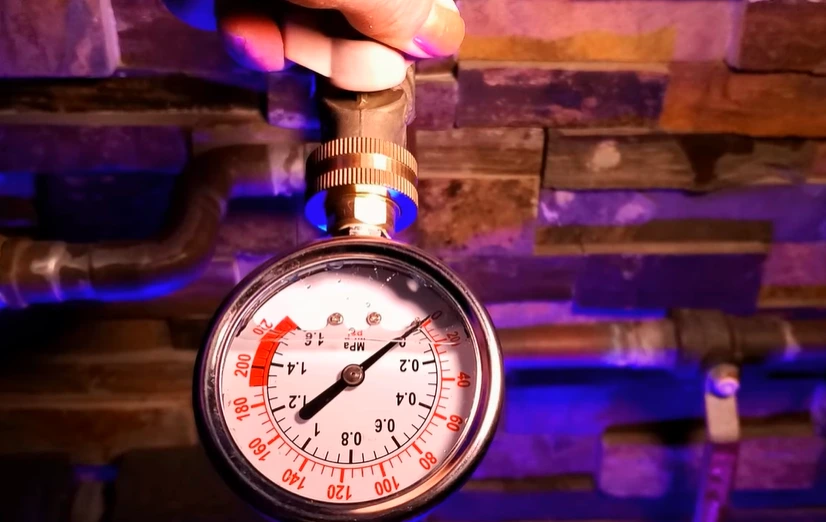
The technician closes the water supply to the home, or to one section of plumbing, and watches a gauge. A line in good condition holds its pressure. A line with a leak loses it, even though nothing is running.

Testing sections one at a time is what makes the test useful for locating a leak: the hot line, the cold line and individual zones can each be checked, and the part that loses pressure is the part to investigate. That tells the technician where to bring the listening or thermal equipment. You can read more about the test on our pressure testing for hidden leaks page.
Pressure gauge testing a plumbing line

Accuracy

How accurate is slab leak detection?

Short answerAccuracy depends on the pipe material, how deep the line is, background noise and whether more than one method is used. Good detection can narrow a leak to a small area, but no method is perfect on its own, so the location should be checked with a second method before anything is opened.

Several things affect how precisely a leak can be located:

  • The pipe material and how well it carries sound
  • How deep the line is and the route it takes
  • Background noise from traffic, appliances or nearby plumbing
  • The pressure in the line at the time of the test
  • Whether more than one method is used to confirm the spot

This is why a careful technician cross-checks a result, for example confirming a listening signal with thermal imaging or moisture readings, before recommending that anyone cut into the slab.

Timing

How long does slab leak detection take?

Short answerA straightforward home can take a couple of hours, while larger properties, several suspect lines or noisy conditions can take longer. Detection goes faster when the plumbing is accessible and the technician has a clear description of the signs, so note when and where you first noticed them.

The main things that change the time are the size of the home, the number of suspect lines, how easy the plumbing is to reach, and how quiet the surroundings are. A quick meter and pressure check can rule a leak in or out early, and the locating step is what takes longer when the leak is small or deep.

Repair is a separate step. Detection ends with a marked location and an explanation of your options, and any repair is scheduled and priced after that.
Water meter close-up with the low-flow leak indicator

Do it yourself

Can I detect a slab leak myself?

Short answerYou can check for signs yourself, such as a water meter that moves with everything off, but you cannot reliably pinpoint a leak under concrete without specialist equipment. DIY checks help you decide whether to call and give a technician useful information. Cutting into floors to look for the leak rarely finds it.

There is a lot you can safely check on your own, and it makes a professional visit faster:

  • Compare your water usage with the same month last year
  • Run a water meter check with every fixture off
  • Listen for running water at the quietest time of day
  • Note any warm or damp spots, and whether they involve hot water
  • Rule out toilets, faucets, irrigation and pool lines

Our guide to slab leak symptoms explains each check. What you cannot do without specialist equipment is find the exact spot under the concrete. Cutting into flooring or the slab to look for it rarely finds the leak and can add repair work.

Locating the leak

How can you tell if a leak is under the slab?

Short answerSigns such as a moving meter, warm floor spots or the sound of running water suggest a leak, but confirming it is under the slab takes testing. Isolating the hot and cold lines and checking the pressure in each shows which line is leaking and whether that line runs through the slab.

Technicians separate the plumbing into parts, such as hot and cold, indoor and outdoor, or one zone and another, and test each. The part that loses pressure is the part that leaks. Once that part is known, its route through the house shows whether it runs under the slab, through the attic or inside a wall.

This also helps tell a slab leak apart from other kinds of leaks. A leak in a pressurized supply line behaves differently from a leak in a drain, and testing shows which one you are dealing with.
Technician scanning a tile floor with a leak sensor

What comes next

What happens once the leak is found?

The technician marks the location, explains which line is affected and what condition the surrounding plumbing appears to be in, and lays out the slab leak repair options with the price before any work begins. Detection and repair are separate decisions, so you can compare options without committing to either.

Local context

Slab leak detection in Apache Junction

Leak Finders provides slab leak detection in Apache Junction and nearby communities, including Gold Canyon, San Tan Valley and Eastmark. Which methods fit depends on the home, so ask the dispatcher what to expect when you call. Our diagnosis-first approach means the leak is confirmed before repairs are discussed.

Quick answers

Slab leak detection: quick answers

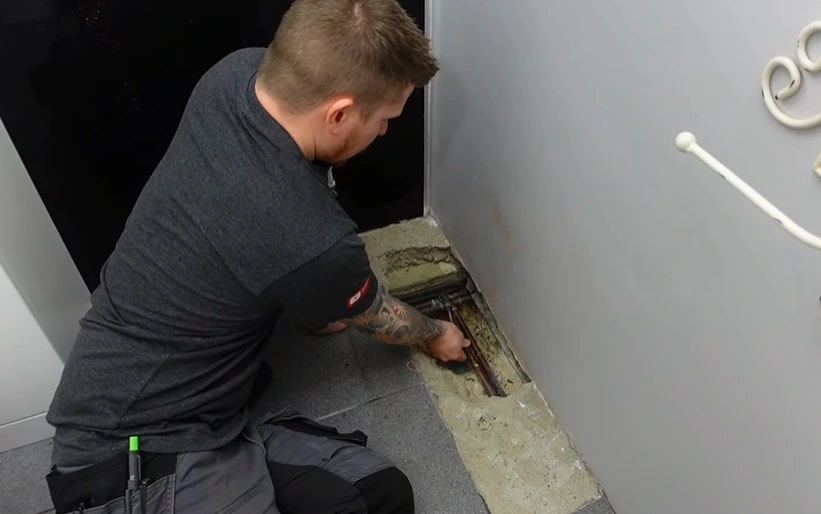
Plumber inspecting pipes under an opened floor slab
Call (480) 885-4943

See more in our slab leak FAQ hub →

How does professional slab leak detection work?

A technician first confirms that a leak exists and which line it is on, using a meter check, pressure testing and line isolation. Listening equipment, thermal imaging or moisture readings are then used to locate it, and the spot is checked before any repair is recommended.

How do plumbers detect a slab leak?

They combine tests and instruments rather than relying on one: pressure testing and line isolation to find the leaking line, then acoustic listening, thermal imaging or moisture readings to find the spot. The methods used depend on the home and on what the first tests show.

Can a pressure test detect a slab leak?

It can show that a line is losing pressure, which confirms a leak in that line. It does not show where the leak is, so it is combined with other tools to pinpoint the location.

What tools are used for slab leak detection?

Common tools include pressure gauges, acoustic listening equipment, thermal imaging cameras, moisture meters and pipe-locating equipment. Not every job needs all of them.

How accurate is slab leak detection?

Accuracy depends on pipe material, depth, background noise and how many methods are combined. Good detection can narrow a leak to a small area, and the location should be checked with a second method before anything is opened.

How long does slab leak detection take?

A straightforward home can take a couple of hours; larger properties, several suspect lines or noisy conditions take longer. The dispatcher can tell you what to expect when you call.

Ready to have it located?

Want the leak located before anything is opened?

Call the dispatcher and describe what you have noticed. We will explain which tests fit your situation, the options and the price before any work begins.
Technician kneeling on a tile floor with an acoustic sensor and headphones

Talk with the local team

Request slab leak detection

Call or email us with what you have noticed. We respond quickly and are available 24/7.
300 W Southern Ave, Apache Junction, AZ 85119Dispatch office · technicians serve the full area
Call dispatchCall now